Draff Bread
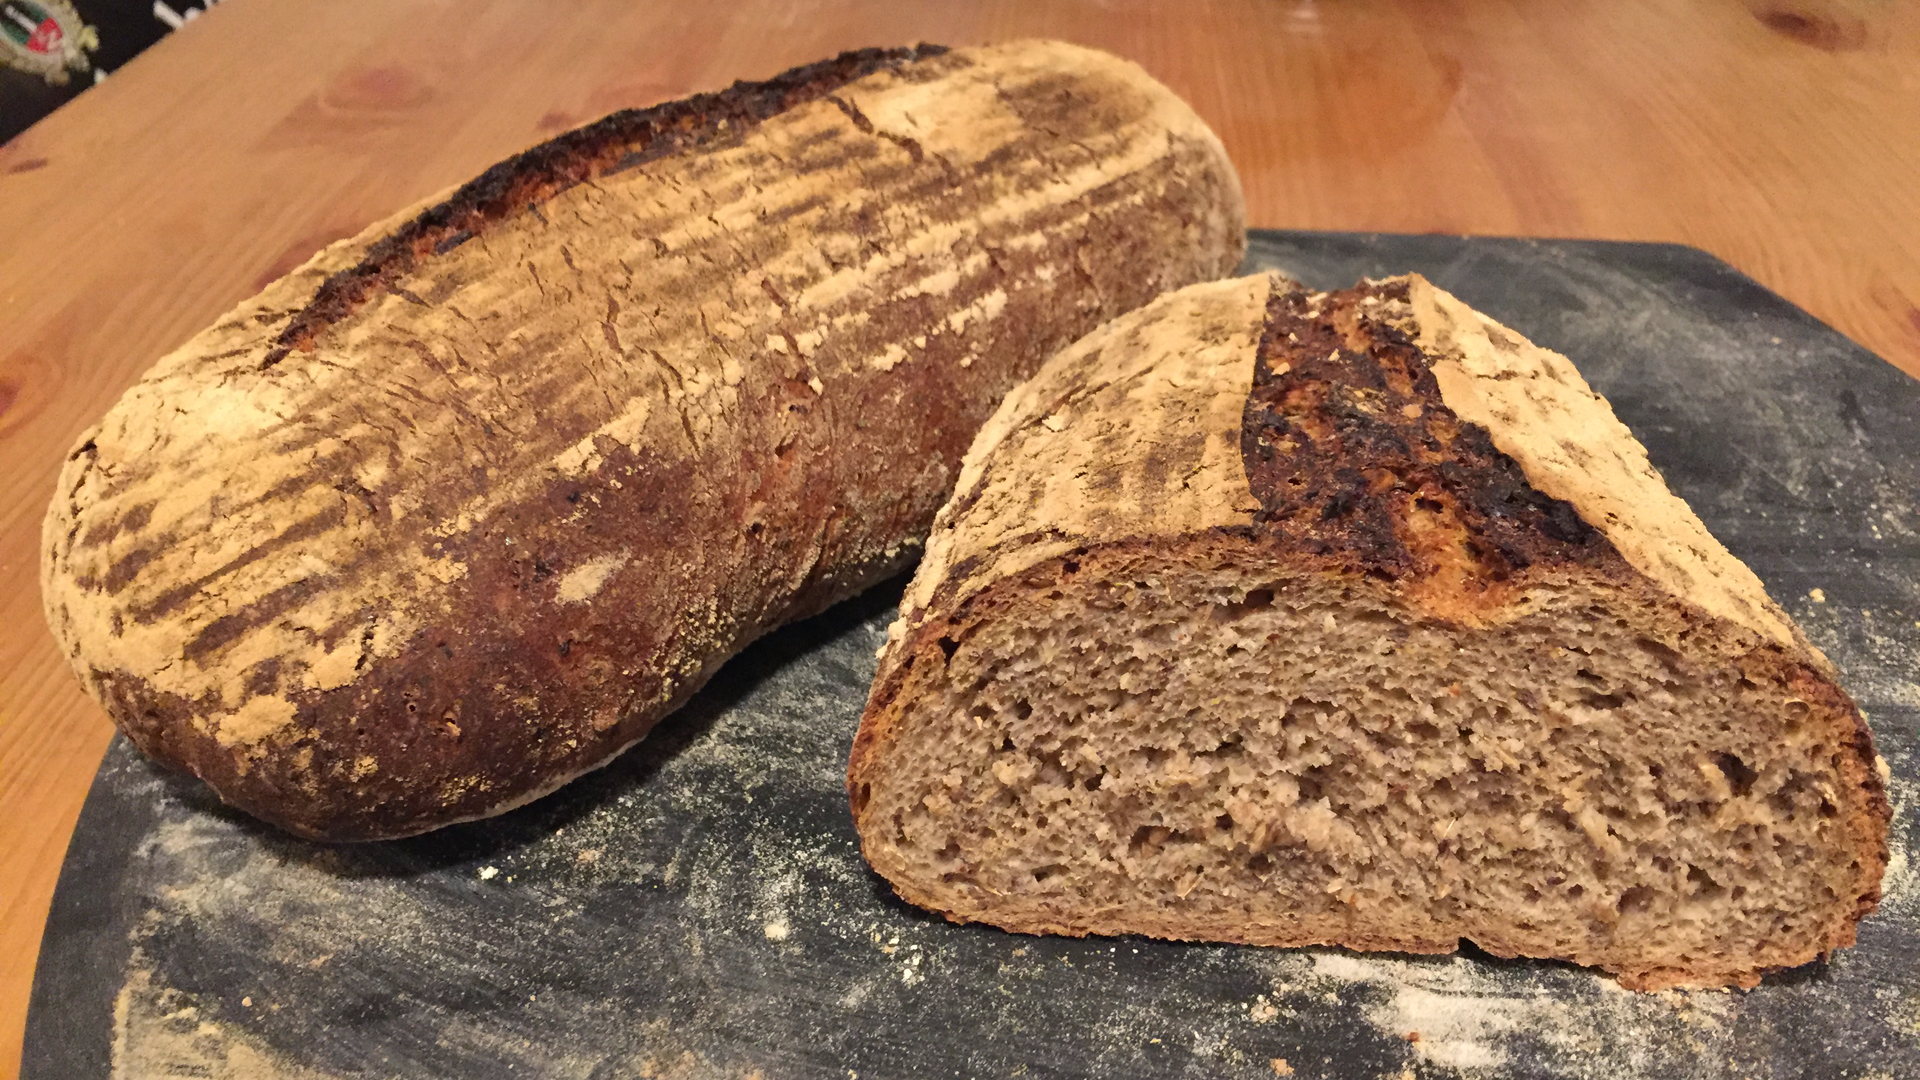
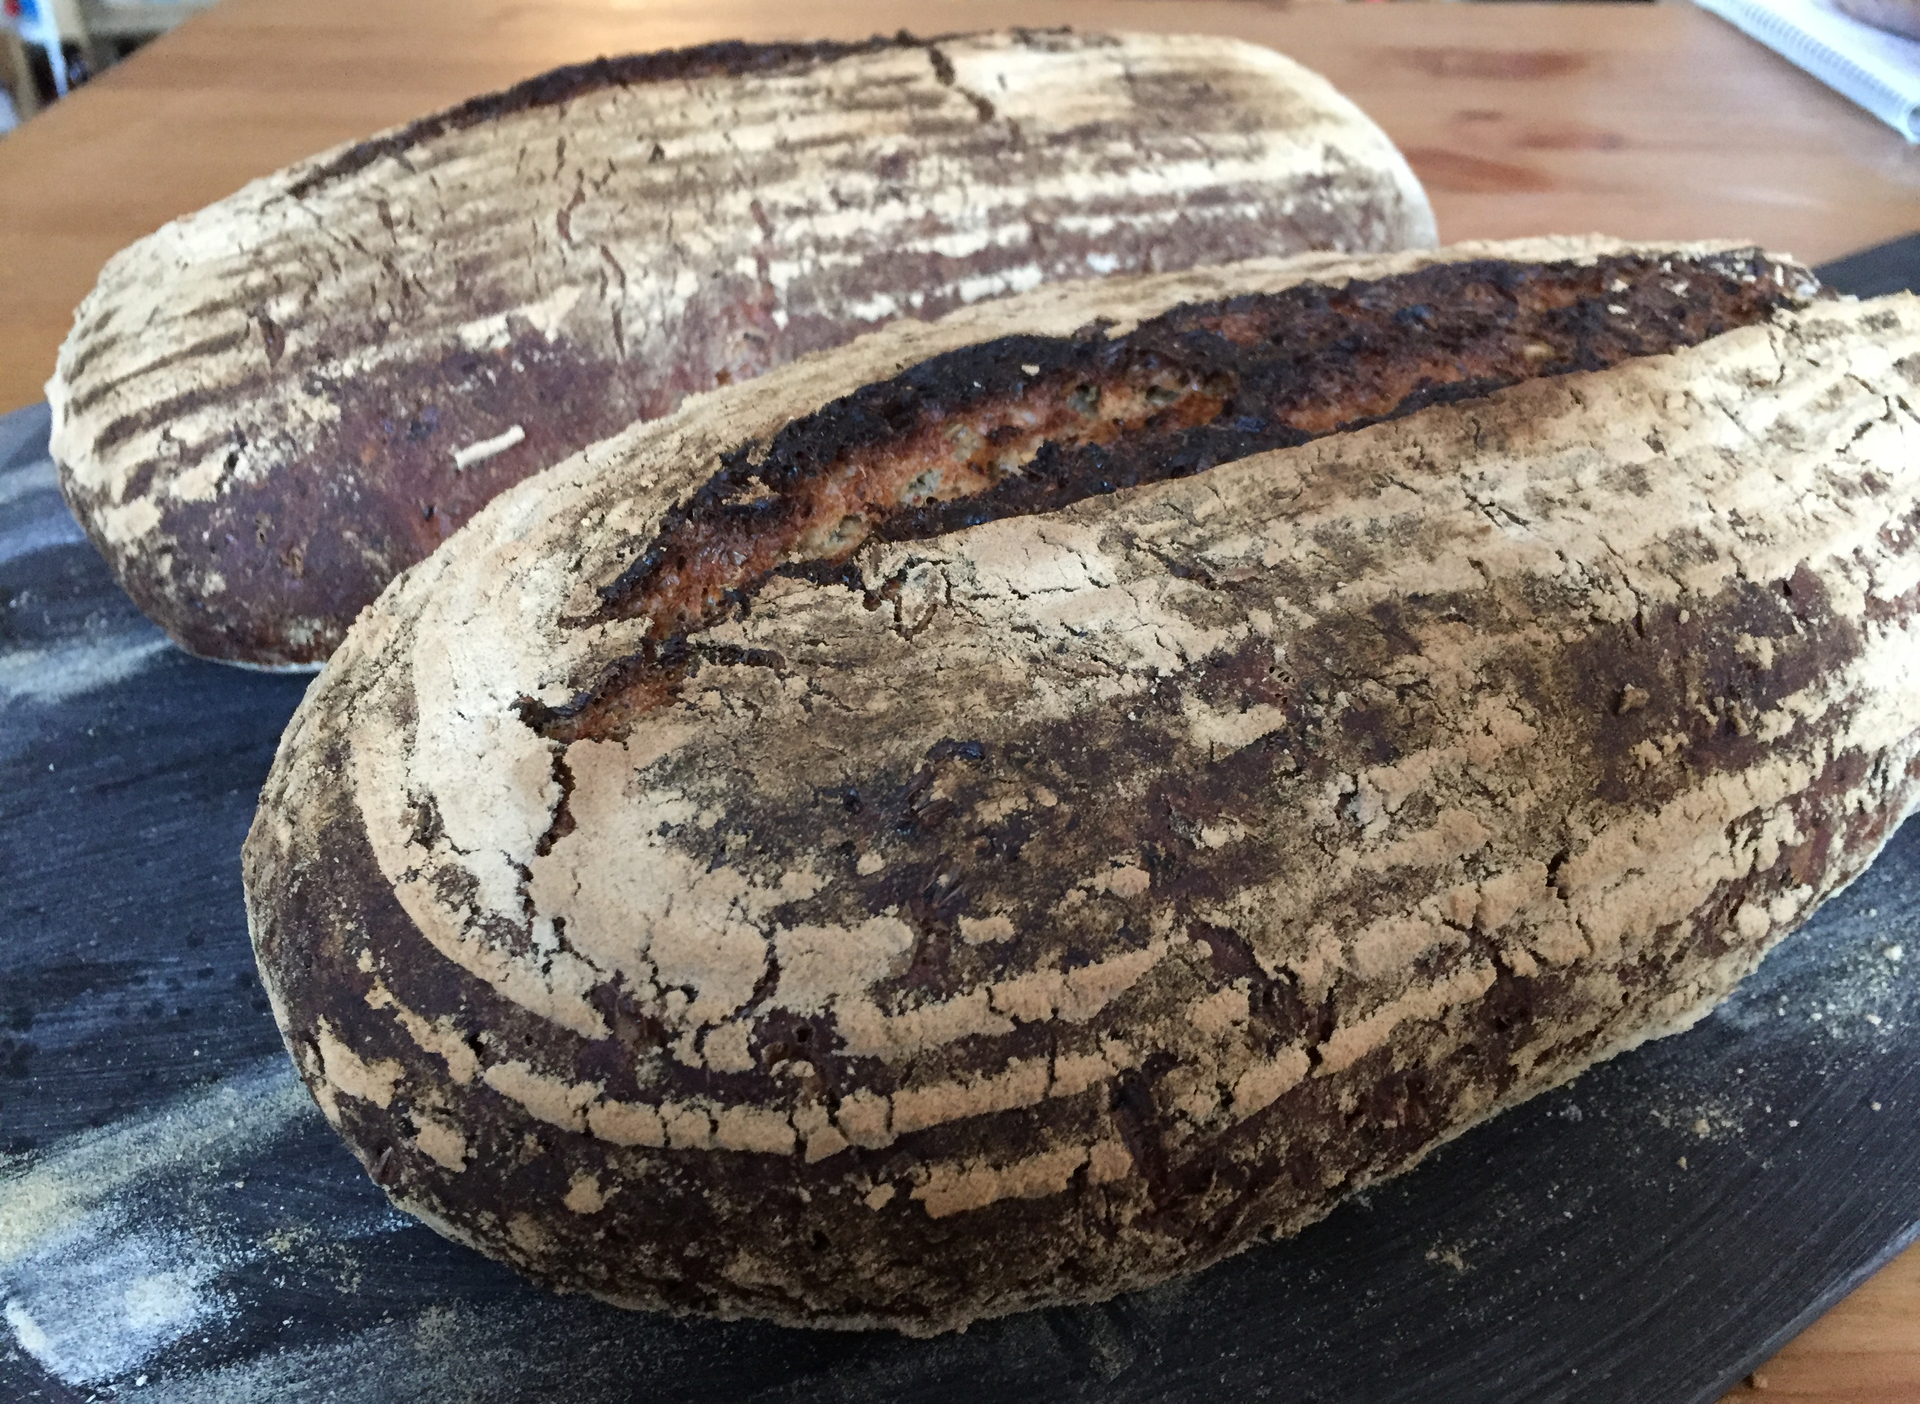
The only real waste from brewing beer is draff, that is what is left off from cooking the malt. You can feed it to animals or compost it but I replaced the sunflower seeds from my favorite bread recipe with the draff from the last brewing day.

When you're done with the brewing, drain the cooked out malt - the draff - in a sieve for a couple of minutes. If you don't brew beer, ask in your local brewery whether they can spare some draff for your bread.
But honestly, the magic of draff is a little overrated by brewers. After washing out the malt into the wort, it does not have a lot of taste, leave alone nutritional value. But, alas, brewing and baking just belong together.
Rumplestiltskin already knew that:
To-day I bake, to-morrow brew,
the next I'll have the young queen's child.
Ha, glad am I that no one knew
that Rumpelstiltskin I am styled.
Okay, the order was different those days. They first baked, then brewed because the fermentation was initiated by wild yeast found int the air, and chances were a little higher that something palatable was produced, when the brewing took place close to bakehouses.
Today, yeast for brewing comes from a factory. Uncontrolled fermentation is only rarely used, for example for the Belgium Lambic. But the traditional association of brewing and baking has stayed.
Many recipes for draff bread contain only yeast as the raising agent. But with yeast alone you will not manage to bake heavy doughs into something fluffy but rather into some muddy lumps of grains known from some hobby eco bakeries. Keeping heavy doughs stable after rasing requires sour-dough.
My recipe contains a whole lot of wheat meal, so that the bread is fluffy and not too dark despite the dark beer and rye flour used.
Ingredients
Sour-dough
- 50 g sour-dough starter
- 150 ml water
- 150 ml whole-grain rye flour
Scald
- 100 g linseed
- 300 g wet draff
- 20 g salt
- 100 ml dark beer
Dough
- 520 g wheat meal type 1050
- 150 g wheat meal type 550
- more meal for the pre-ferment, for kneading and for flouring the workspace
- 10-20 g yeast
- 15 g sugar
Preparation
Time needed: more than 24 hours
- Mix 50 g sour-dough (starter) with 150 ml starter in a large vessel (1.5 to 2 l) and let it rest for 12 to 18 hours in a warm place, ideally at a temperature of 30-35 °C that favors the development of lactobacillus with a light flavor. At cooler temperatures, more acetic acid is produced giving the bread a more asic taste. In your home bakery, this is mostly a question of taste and of coincidence.
- Mix 100 g linseed with 300 g wet draff, 20 g of salt and 100 ml dark beer of at most 78 °C. Let the scald rest for 2-3 hours.

- Knead 520 g wheat flour type 1050, 150 g wheat flour type 550 and 240 ml boiled dark beer in the kitchen aid into a smooth dough and let it rest for about 60 minutes. The alcohol should have evaporated out of the beer because it would otherwise block the activity of the yeast cells.
- Crumble 10-20 g of yeast. Mix with 15 g sugar, a table spoon of flour and two table spoons of luke warm water into a relatively liquid dough and let it rest for 15-30 minutes at a warm place until the quantity has grown significantly. The exact amount of yeast depends on the quality of the sour dough. Young sour dough has less raising power than mature sour dough. The addition of yeast has to be calculated accordingly.
- Mix the pre-ferment, the sour-dough and finally the scald and knead with a ktichen aid 15 minutes at low speed, and another 5 minutes at a higher speed. Add flour as needed. The dough should be quite sticky. The more water the dough can keep, the better.
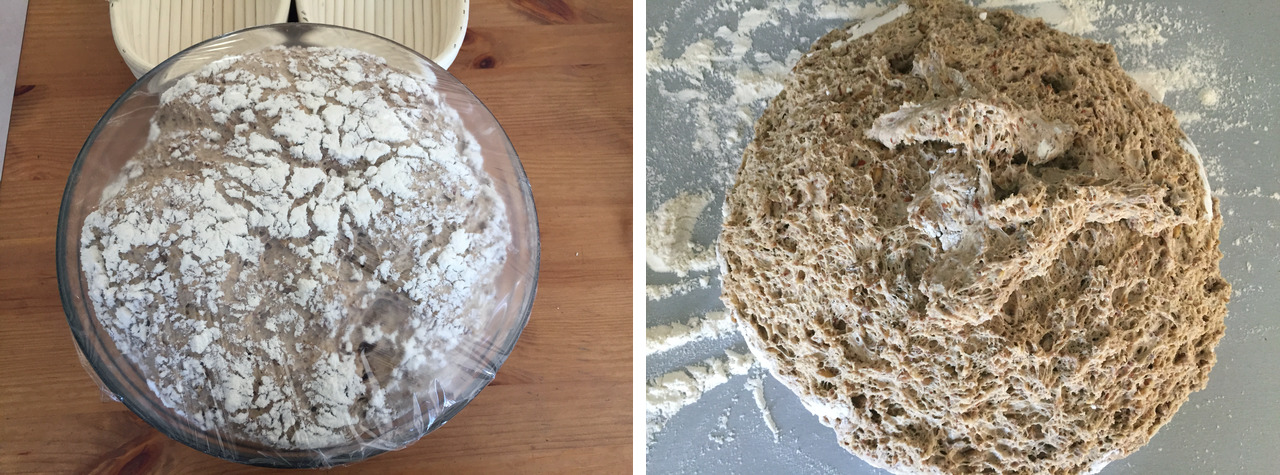
- Let the dough rest under a wet towel or cling foil for two hours at a warm place.

- Cut the proven dough into two pieces. Form a rectangle of each piece and fold one third of it towards the center. Cover bread baskets with flour and transfer the loafs into them with the join pointing towards the top (!). Cover them with a wet cloth or cling foil and let them rest for another two hours.

- Pre-heat the oven with a pizza stone to 250 °C. Also put a dripping pan or deep baking tray on the bottom of the oven so that you can pour water for steam into it.
- Turn the proven bread loafs after risen onto a flowered board, cut with a razor blad lengthwise and transfer into the pre-heated oven. Pour 200 ml of waters into the baking tray on the bottom of the oven.

- After 15 minutes, lower the temperature to 240 °C and open the oven door for about 30 seconds to let out the steam.
- Bake another 15 minutes at 240 °C.
- Cover the breads with aluminium foil and bake another 25 minutes.
- Transfer the bread from the oven to a warm place without draft for cooling them.

Short of bread baskets for fermenting, you can just form the dough into loafs and let it rise on a wooden tray. The bread will probably become a little flatter than.
Without a pizza stone you should use more under than upper heat. You will also want to give the bread 5-10 minutes more in the oven.
The bread does not mind deep-freezing, also in smaller portions. Do not cut it into slices, though. It will dry out too much otherwise.
Leave a comment
Giving your email address is optional. But please keep in mind that you cannot get a notification about a response without a valid email address. The address will not be displayed with the comment!